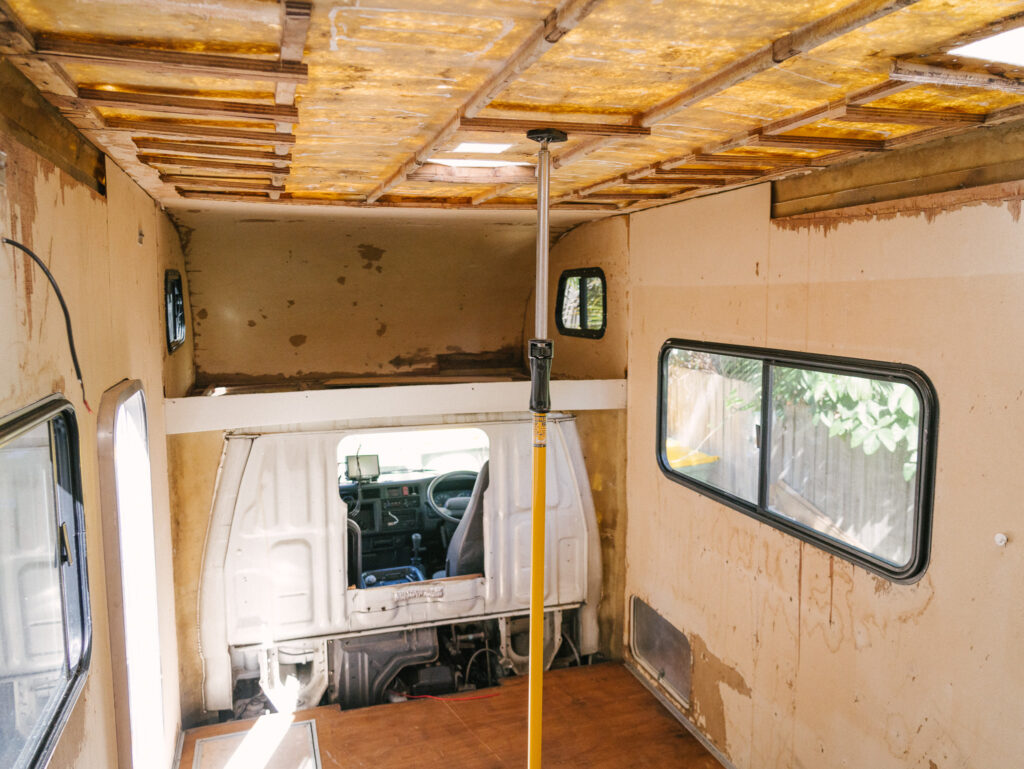
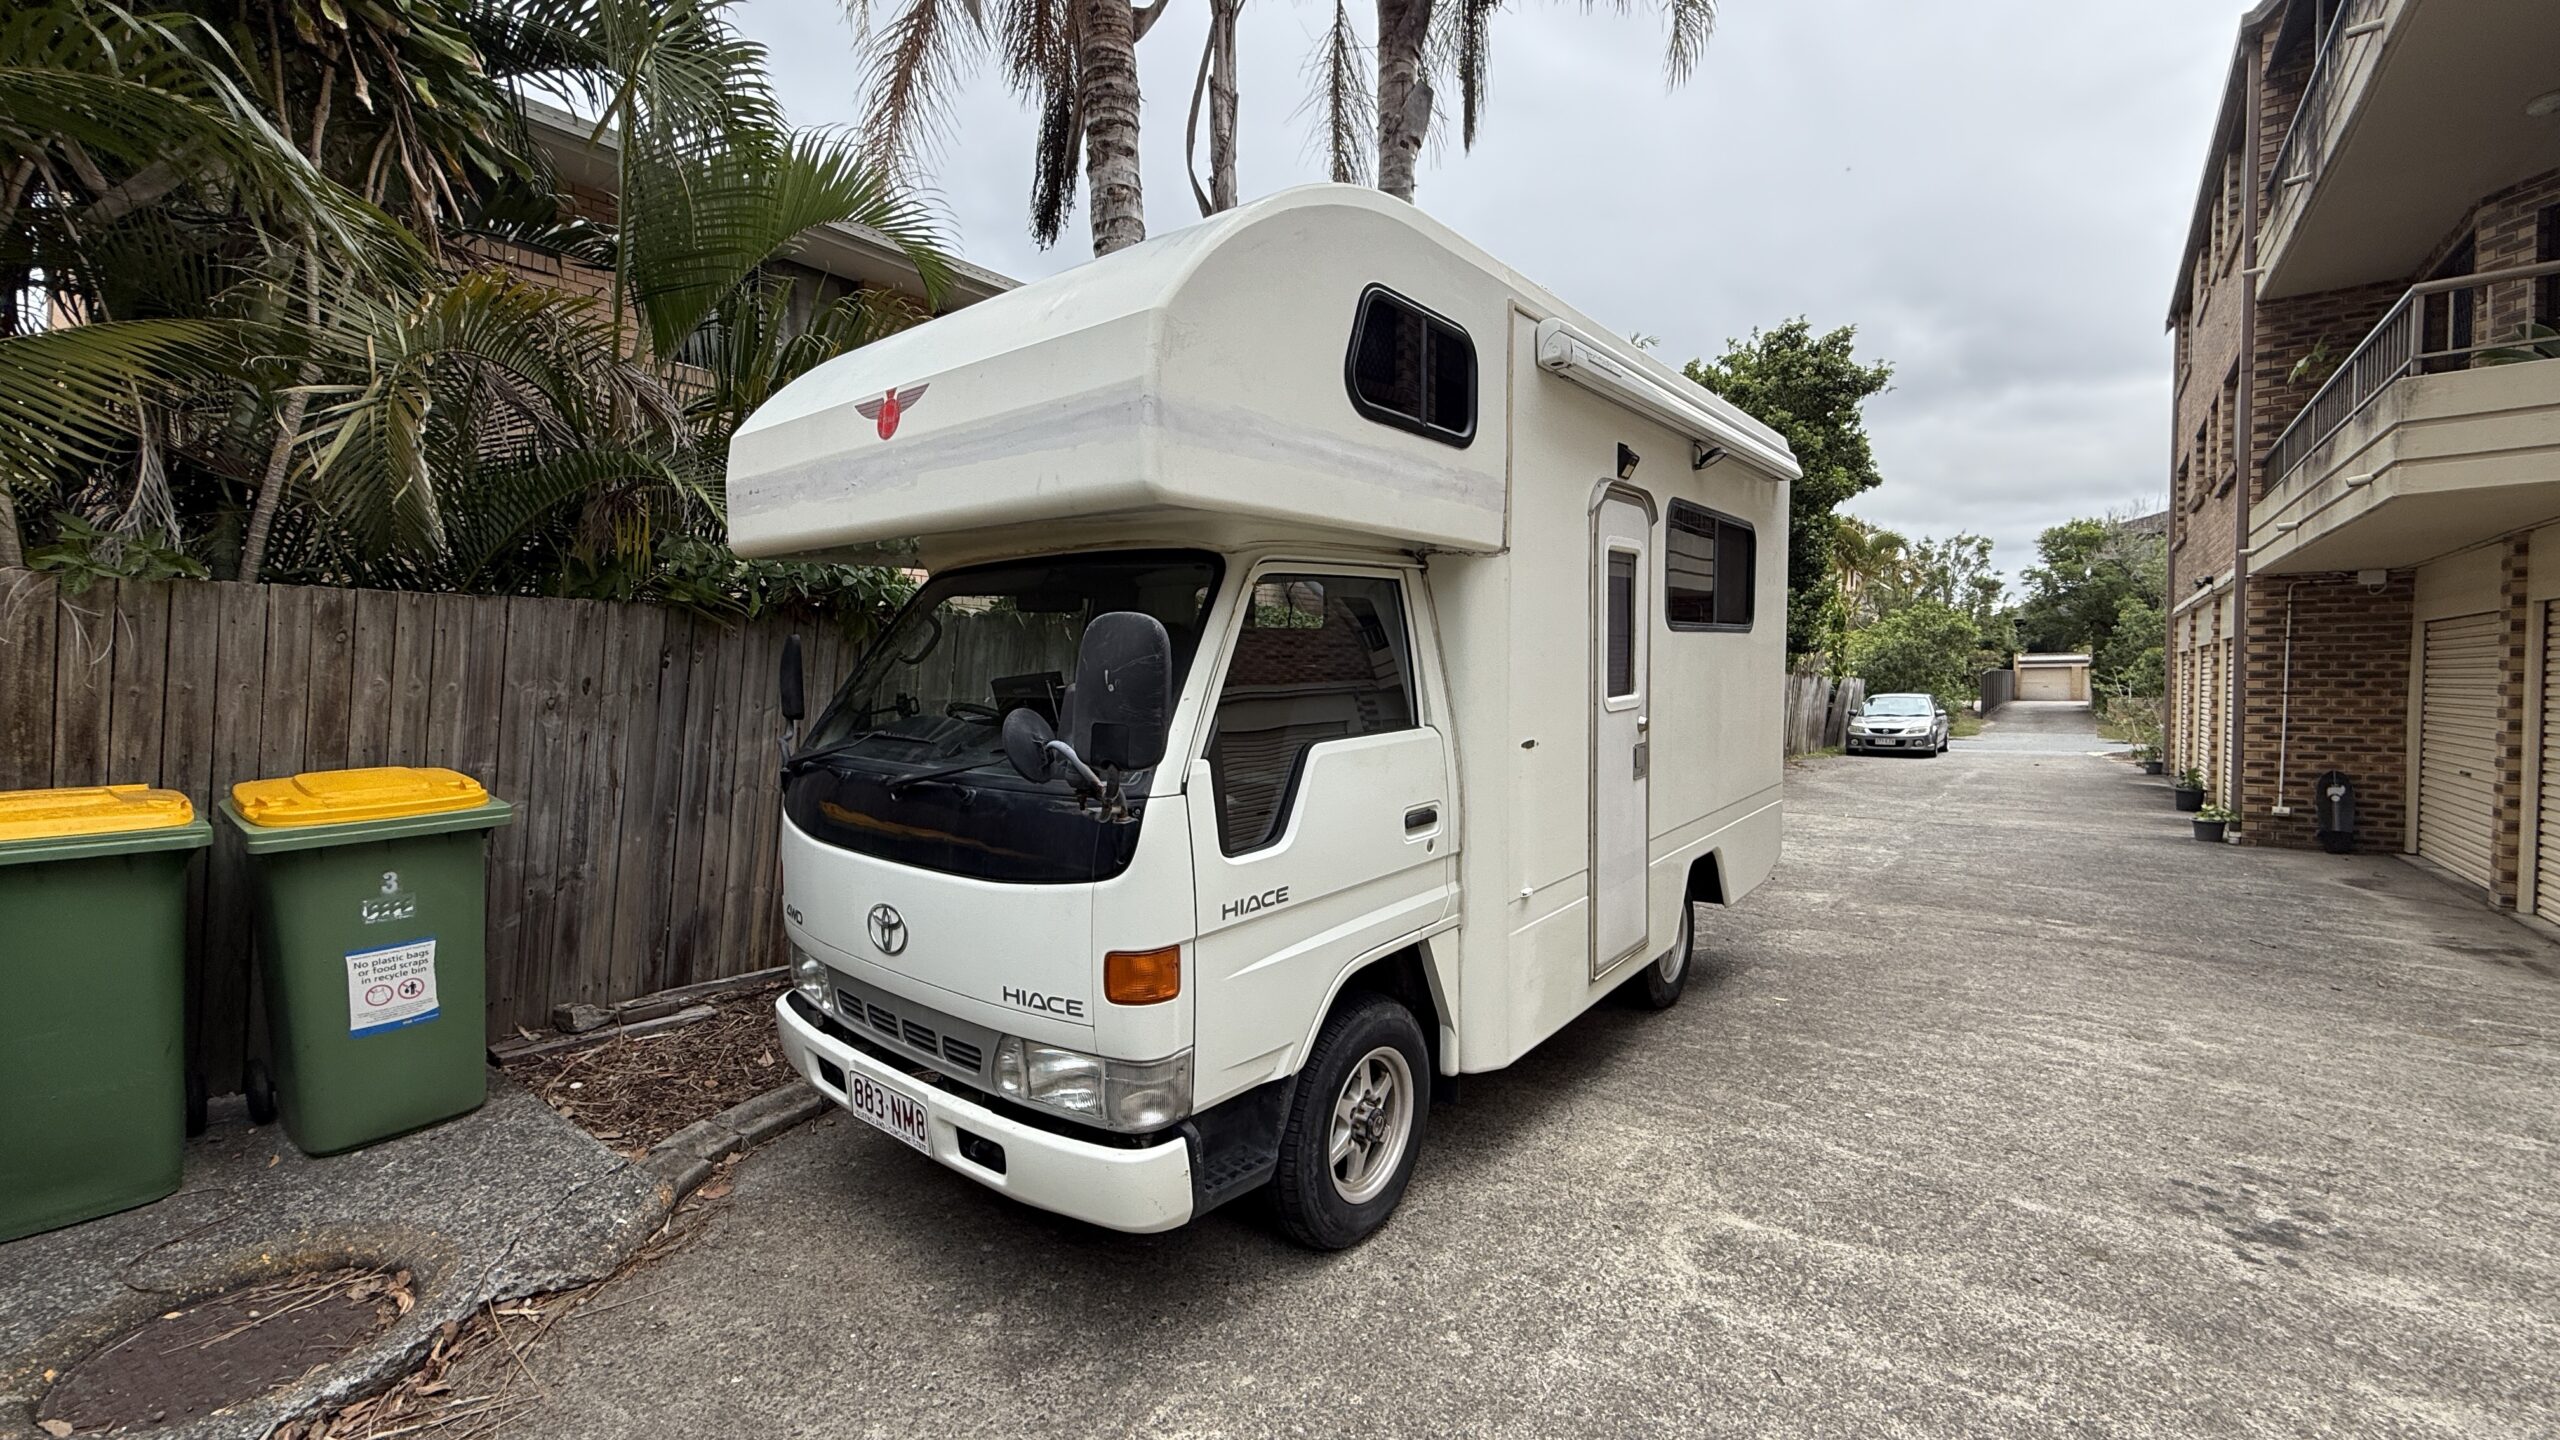
After all the sanding, wire-brushing, and the general misery of stripping out the old itchy insulation, it was finally time for the fun part: applying the Corkon spray-on cork insulation.
This was a massive milestone for us. After weeks of what felt like going backwards—ripping things out and finding rot—this was the first step toward actually building our dream lap of Australia rig. We finally had our blank canvas!

Getting ready to spray!
As you need a bit of basic equipment for this, you have two options –
Option 1: Rent or buy a compressor and spray gun/hopper
Option 2: Phone a friend who already has one!
I went with Option 2 and visited Jono at Freedom Fitouts – Jono’s actually applied Corkon to a few vans already, so not only did he have the gear but he also had the know-how and experience to guide me through it (and get me started).
I was so excited to get the spray gun out that we almost made a huge rookie mistake. We nearly forgot to mask everything up! Luckily, Amy caught me just in time.
Because Corkon is a spray application, it creates a continuous, seamless layer (which is great for stopping thermal bridges), but that also means it wants to get everywhere. We spent a good chunk of time taping off the windows and the cabin to make sure we didn’t end up with a cork-covered dashboard.
The Application: Surprisingly Easy and Fun
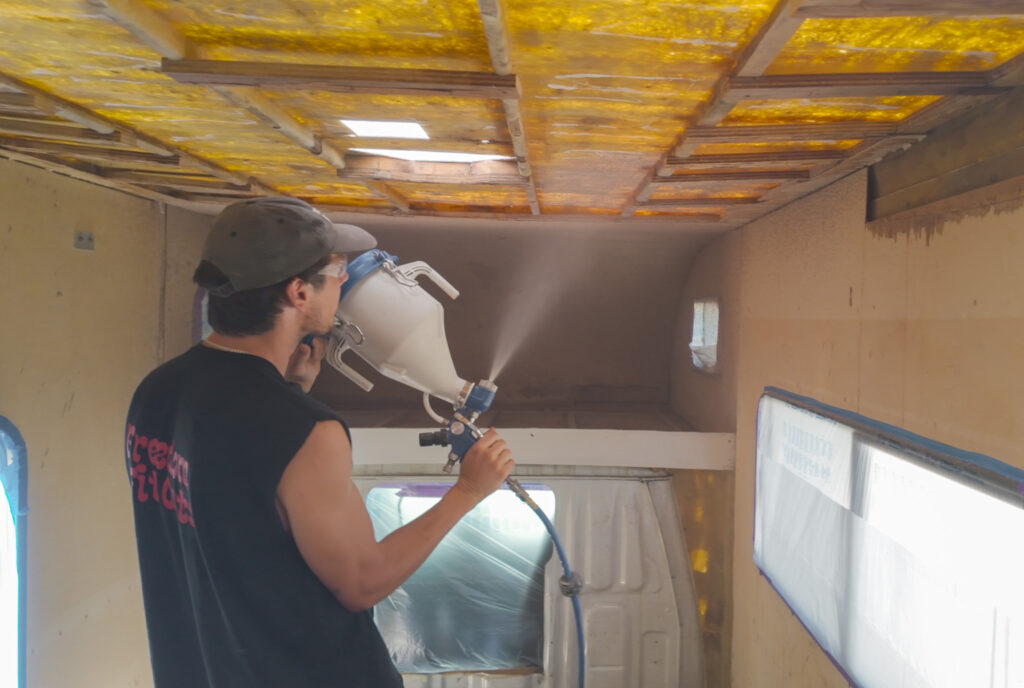
Once we were prepped, it was time to mix it up. It’s essentially a 1:1 water to product ratio, and the product comes in 6kg bags, so first you just weight out 6kg (which is 6L) of water. Then you get your drills mixer attachment and mix the product to a creamy consistency so it flows perfectly through the spray gun aka ‘hopper’.
I’ll be honest, I was a bit nervous about the application, but it was surprisingly easy and honestly.. a lot of fun! It’s not like painting where you’re stressed about brush strokes, you kinda just slowly wave the spray gun around and it goes on!

It gets applied in 2 steps
- The first “tack coat”: A light spray to give the following layers something to grip to, very similar to painting!
- The second “heavy coat” Once the first layers is dry (about 45 mins but for us it was about 1.5hrs as we went for a swim!) the second coat is applied more heavily, and is the finished product!
Extra Benefit: Because it’s a spray, we could get into all those awkward corners that traditional board insulation just can’t touch, and it felt way faster than having to cut and stick all sorts of different panels on.
A Huge Build Milestone
The best part? It was incredibly quick. In just a few hours, the entire interior of the van was transformed from a patchy, sanded mess into a clean, uniform, textured cocoon.
It already feels different inside—quieter and much more “solid.” Knowing that our 4WD motorhome is now protected by a product that is anti-microbial and anti-moisture gives me so much peace of mind for the road ahead.
The “demo” phase is officially over. We have our blank canvas, the insulation is sorted, and we can finally start the actual build! Next up, we start playing with the aluminium T-slot sub-frame!